

Good Morning All! Alex here from Meta Trends, providing the latest web development tips, tricks, and insights to take your online presence to the next level.
So you’ve taken the first crucial step towards building a fantastic website – installing WordPress! As one of the most popular content management systems out there, WordPress offers endless possibilities for crafting an engaging online experience.
But the journey doesn’t stop after installation. There are some vital steps to take in those initial days after setup that will save you headaches down the road as your site grows. From security measures to performance optimisations – I’ve compiled my top 10 essential things you should do after installing WordPress. These tips will set you firmly on the path to WordPress success!
1. Choose Reliable WordPress Hosting
The foundation of any thriving WordPress site is reliable hosting. When choosing WordPress hosting, opt for a provider explicitly optimised for WordPress. General shared hosts typically don’t offer the infrastructure and support needed to manage a WordPress site as it scales.
Instead, look for hosts like WP Engine or Kinsta that offer essential WordPress-specific features like staging environments, automated updates, and WP-CLI integration. This ensures your site stays secure, performs well, and allows you to add functionality confidently without fear of crashes.
If going the managed WordPress host route seems expensive, check if the provider offers a free migration service from your current host. The performance and reliability gains are worth the investment in the long run.
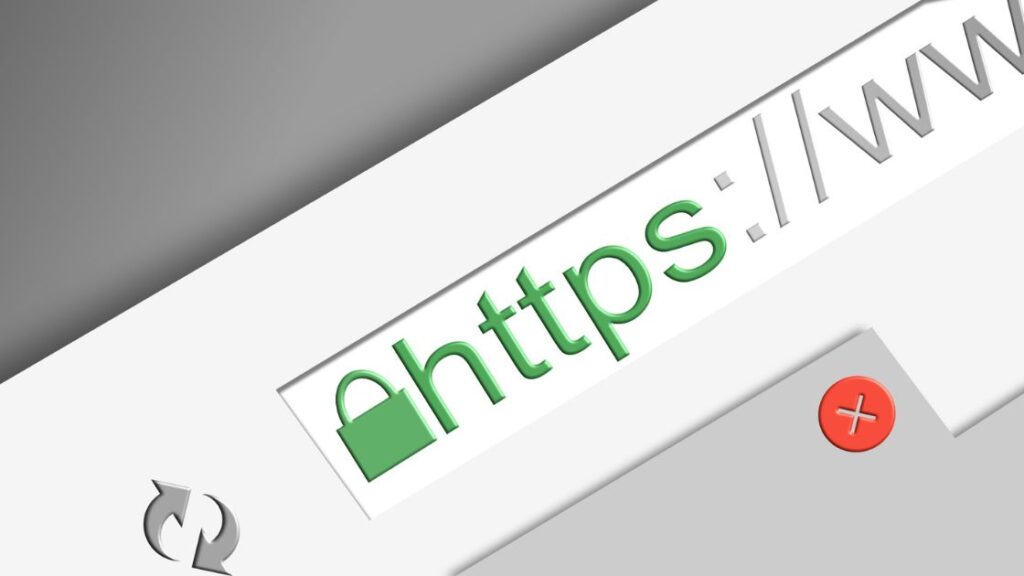
2. Set Up HTTPS
Enabling HTTPS for your shiny new WordPress site should be one of the very first things on your to-do list. Browsers are increasingly flagging HTTP sites as “not secure, ” which can negatively impact visitor trust and engagement.
Switching to HTTPS encrypts the data between servers and browsers, providing a critical layer of security. Most managed WordPress hosts like WP Engine make this process hassle-free with auto-enabled, free SSL certificates.
If your current host doesn’t offer this, install a free SSL plugin like Really Simple SSL to get you started until you migrate to a fully managed host. Prioritise this switch as soon as possible – HTTPS is non-negotiable these days!
3. Update Login Credentials
I hate to say it, but the default WordPress admin credentials act like a welcome mat for attackers spoiling to wreak havoc on your site.
As soon as you install WordPress, one of the first things you should do is update those admin login details. Don’t worry, it only takes a minute!
First, manually create a new admin WordPress user via the dashboard. Next, delete the default admin account altogether. Not only does this add security through obscurity, but it also makes automated bot attacks attempting the default admin login futile.
To take it further, install a plugin like iThemes Security or Wordfence for advanced user authentication and login protection. Get those login credentials locked down ASAP!
4. Install Essential Plugins
The real magic of WordPress comes with plugins – those nifty extensions that add all kinds of functionality to your site. While resist plugging in every shiny plugin you see, there are a handful considered essential:
1. Security plugins like WordFence or Sucuri act as the guardians at your site’s gate, protecting you from intrusions.
2. SEO plugins like Yoast SEO optimise your content for search engines while also simplifying the process of crafting SEO-friendly content in the first place.
3. Backup plugins like UpdraftPlus provide peace of mind by securely backing up your valuable site data daily or weekly. When (not if) disaster strikes, you’ll be glad you had a backup in place.
4. Caching plugins like WP Rocket or W3 Total Cache dramatically improve site performance by reducing server requests and load times. Slow sites are sites where visitors won’t stick around – optimisation is vital!
Some plugins handle everything from contact forms to analytics to migrations and more. But every site should have these four pillars installed to start. You can build from there!
5. Pick a Trusted Web Host
We briefly touched on this before, but choosing a reliable, high-quality WordPress hosting provider deserves emphasis. Your host significantly impacts everything from site speed and security to uptime and support response times.
Rather than stuffing your site onto an overcrowded, underpowered shared server, pick a host like WP Engine or Kinsta, explicitly built for WordPress. Your future self battling a sluggish or hacked site will thank you!
WordPress.com vs WordPress.org – what’s the difference? WordPress.com offers limited free hosting for blogs, while WordPress.org is the open-source CMS downloaded from WordPress.org that gives you total control…and responsibility. Using managed WordPress hosting like WP Engine means you get the freedom of self-hosted WordPress with hosting optimised for scale and security.

6. Set Up Google Analytics
Understanding exactly how people discover and interact with your website provides priceless insight for growth. That’s where Google Analytics comes in.
The powerful yet free analytics tool integrates seamlessly with WordPress, giving you the ability to:
- Track visitors and traffic sources
- Identify visitor behaviour and engagement metrics
- Establish goals and conversion funnels
- Gather data for optimising pages and content
- Monitor campaigns and UTM parameters
- And much more!
For a comprehensive overview, check out Google’s guide on setting up Google Analytics with WordPress. Get those tracking codes added pronto – the data will prove invaluable.
7. Optimize Images
Here’s a little-known fact about WordPress sites: Over 60% of a web page’s content comes from images. Yet oversized, unoptimised images can slow down even the fastest areas.
Optimising your images should be a top priority after installing WordPress. Thankfully, some phenomenal plugins handle this automatically:
EWWW Image Optimizer compresses images on the fly as you upload them, resizing and converting formats when savings are available.
ShortPixel can optimise your entire media library in bulk with intelligent lossy and lossless compression for PNG, JPG, and PDF files.
And for the CDN piece of the puzzle, WP Offload Media sends images to blazing-fast content delivery networks like Cloudflare and BunnyCDN for free.
With these three plugins, your image optimisation process is set-and-forget. Welcome fast site speeds and happy visitors!
8. Make It Mobile-Friendly
Here’s an alarming stat: Over 60% of online traffic now comes from mobile devices. And that percentage grows every year. Yet many websites still aren’t mobile-friendly, which equals lost opportunities.
Thankfully, WordPress makes creating a stellar mobile experience easy. Just be sure that:
- Your theme is responsive and out-of-the-box for adapting across device sizes.
- Keep page sizes lean by optimising images, limiting plugins, and implementing caching.
- Content is easily read on smaller screens with brief paragraphs, large text, and concise wording.
- CTAs and tabs target fingers via tap expansion techniques.
- Page speed remains fast courtesy of site caching and a CDN.
Also, test the front end using Google’s Mobile-Friendly Test. Don’t lose 60%+ of potential traffic simply because your site didn’t play well with mobile!

9. Make Updates a Habit
One crucial lesson I’ve learned building WordPress sites all these years: Always keep your plugins, themes, and WordPress core updated.
Updates don’t just fix bugs and patch security issues. They also add new functionality and give access to speed and tech improvements under the hood you’ll miss out on otherwise.
Managing updates is practically on autopilot these days for self-hosted WordPress sites. Most managed hosts like WP Engine handle core updates automatically in the background. Plugins and themes typically update themselves as well.
However, I still recommend manually checking your Updates screen every week or two to stay informed. Think of updates as less annoying and more as a gift, bringing fresh features and protections with every release!
10. Establish an Editorial Calendar
When starting any website or blog, it’s easy to become overwhelmed thinking about generating endless ideas and content. An intelligent way to tame the beast? Creating an editorial calendar.
An editorial calendar outlines specific topics and themes you intend to cover weekly or monthly. This serves several purposes:
- It focuses your content brainstorming into organised buckets, so you’re not grasping at straws for ideas.
- You can plan content that aligns with annual events, holidays, or seasons.
- Mix evergreen and trending themes to appeal to both new and returning visitors.
- Identify content gaps that need your attention.
- Coordinate guest contributors and content assignments.
A simple Excel, Google Sheets, or Airtable document breaking down posts by week or month works wonders. Tools like CoSchedule take things even further with drag-and-drop functionality, collaborator options, and integrated analytics.
Thoughtful planning yields thoughtful content. An editorial calendar gets those creative juices flowing on autopilot!
Let Your WordPress Journey Begin!
There you have it – my top 10 tips for setting up a successful WordPress website ready for the long haul after a fresh installation!
From fine-tuning the fundamentals like hosting, plugins, and security to crafting mobile-friendly experiences to getting savvy about site analytics – prioritising these steps early in your WordPress life cycle will pay dividends as your site grows.
Now that you’re armed with a battle plan for WordPress success, the only thing left is taking action! Start checking off the items outlined above and watch your website thrive. Feel free to email me in the comments with any questions along the way – I’m happy to help however I can!
Here’s to launching an excellent WordPress site made to stand the test of time. Now get out there, have fun, and start delighting your audience!